Sourdough Starter Guide
Technically a natural yeast, practically a tamagotchi.
Congratulations! You have decided to jump on the sourdough bandwagon. The first thing you’ll need is a sourdough starter, which is technically natural yeast, but practically a tamagotchi. The easiest way to acquire a sourdough starter is to ask a friend to give you some. If you don’t have friends who bake however, you can always make it at home!
Background
The fascinating thing about sourdough starter is that it occurs naturally when you mix water and flour and leave it on your counter. The bacteria in the air in your kitchen starts interacting with the mixture and consumes the sugars. This process creates carbon dioxide gas, which is why the starter visibly rises and falls each day. With regular, daily “feedings” with fresh flour (food for yeast), the rising becomes stable and more predictable.
The Tools
- A tall glass jar. Weck 3/4 liter jar is fantastic for this but any glass jar will do.
- A silicon spatula.
- Organic Dark Rye or Whole Wheat Flour for getting the starter going.
- Unbleached All Purpose Flour for feeding.
- A digital kitchen scale.
- Water. Ideally mineral water.
- Patience, for about a week.
The Process
Pick a time of day for feedings and stick to it. Early morning or late evenings are great! Make sure to mix thoroughly, without leaving any flour on the sides of the glass jar.
| Day | Instructions |
|---|---|
| Day 1 | Mix 100g dark rye flour and 125g water. Lightly cover with a cloth. |
| Day 2 | Keep 75g starter and discard the rest, add 100g flour and 115g water |
| Day 3 | Keep 75g starter and discard the rest, add 100g flour and 100g water |
| Day 4 | Same as Day 3. You should start seeing some bubbling action by now. |
| Day 5 | Same as Day 4. There may be liquid forming on top. Feel free to mix. |
| Day 6 | Same as Day 5. |
| Day 7+ | Keep 50g starter and discard the rest, add 100g flour and 100g water. |
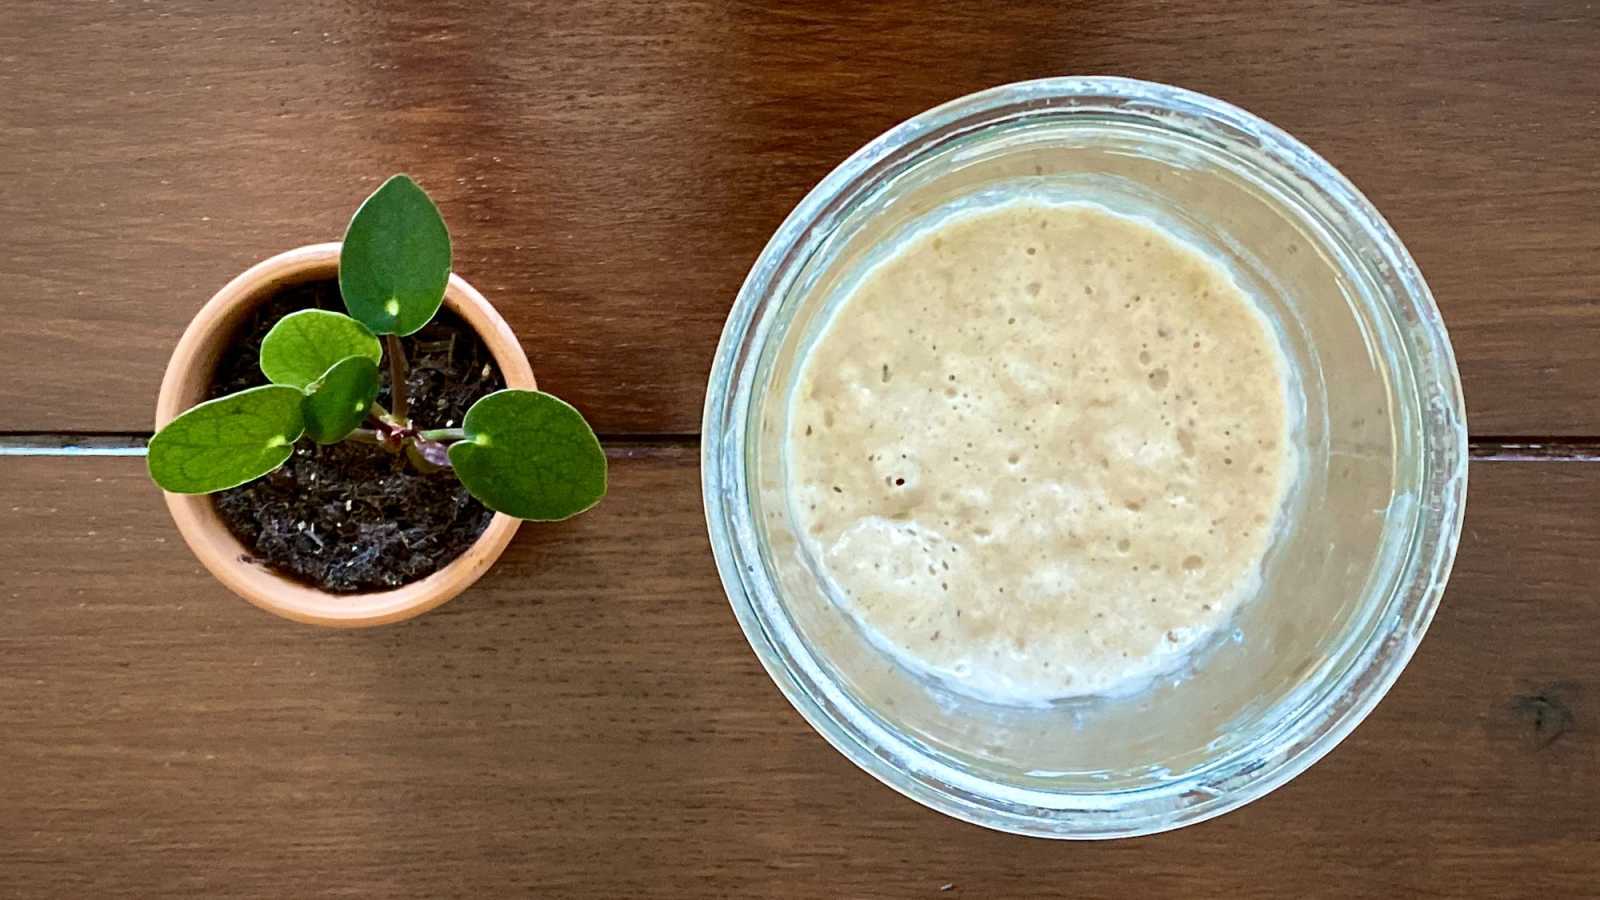
By now, your starter should be rising and falling predictably each day. It should smell pleasantly fruity and slightly alcoholic. From day 7 onwards, switch to a combination of 50% dark rye and 50% all purpose flour for daily feedings.
Tips & Tricks
- Feed your starter every day around the same time. If you plan to start making bread in the morning, feed at night. If you want to start making bread at night after work, feed your starter in the morning.
- Your starter takes anywhere from 6-12 hours after each feeding to reach its peak maturity. When it’s ready, It’ll be visibly active and bubbly.
- “The float test” is an easy way to determine if your starter is ready to make bread: drop a small spoonful into water. If it floats, it’s ready!
- If you only bake on weekends, just close the lid and store your starter in the fridge during the week. Make sure to take it out a day or two before baking to resume regular feedings.